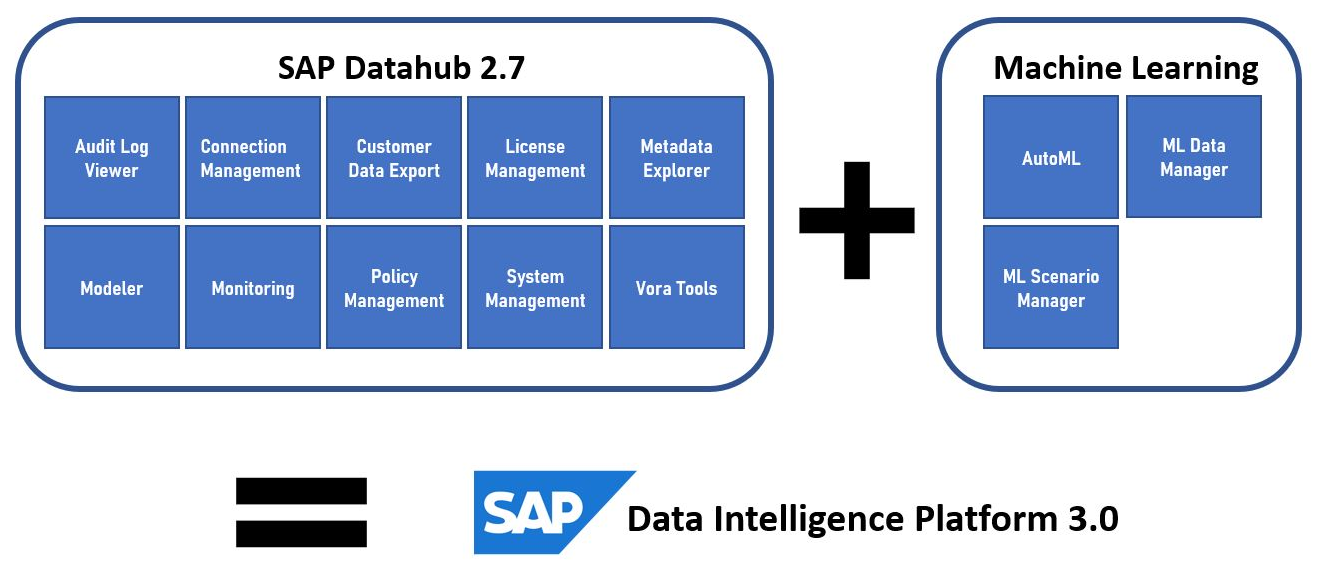
With the Data Intelligence Platform (DI) SAP enhances the functionality of the Datahub by adding special tools for machine learning and AI.
Although the Datahub has been available for some time now as both a cloud and as an on-premise system, the successor to the Datahub, the Data Intelligence Platform, followed only recently and is also available to customers on their local network. Since we have already reported on the installation of Datahub in an Open Source environment, we might as well take a closer look at the DI installation and check out the differences and what you need to be aware of in the process.
The first thing you notice is that the supported versions have changed. We can, for example, now use version 1.15.12 when installing the Kubernetes cluster. We also used CentOS 7 as a stable and established distribution, when we installed Kubernetes for the SAP Datahub 2.7, whereas this time we will upgrade the used OS and install the environment based on CentOS 8. Based on that upgrade we can also change the method of implementing our Ceph storage. The tool “ceph-deploy” was still usable in CentOS 7 (many “HowTo”-guides out there refer to it).This has changed in the meantime and the storage is now, like many other software solutions, container (docker) based. You can install it by using the recommended tool “cephadm”. The detailed instructions can be found on the homepage of the project. From our experience the container deploy worked very uncomplicated and has been running stable since!
So, let’s start to build the infrastructure. In general, the main steps haven’t changed from the installation of Datahub – we will therefore try to keep it short.
- Initiate Kubernetes cluster
- Deploy pod network
- Add worker nodes
- Configure DNS settings
- Connect default storage
- Provide a container registry
If you’d like to have a more detailed description check out our previous article linked in the first section.
When installing the Data Intelligence Platform, the previously used “Host Agent” no longer exists and the SLC Bridge has now fully replaced the alternative command-line tool “install.sh”. If you have never before performed a Datahub or a DI installation, this quote from the SAP installation guide might give you a quick impression of how it works.
„You run any deployment using the Software Lifecycle Container Bridge 1.0 tool with Maintenance Planner. In the following, we use the abbreviated tool name “SLC Bridge”. The SLC Bridge runs as a Pod named “SLC Bridge Base” in your Kubernetes cluster. The SLC Bridge Base downloads the required images from the SAP Registry and deploys them to your private image repository (Container Image Repository) from which they are retrieved by the SLC Bridge to perform an installation, upgrade, or uninstallation.“ Link
After you have completed the first sections and selected the correct product for installation, a “Prerequiste Check” will be executed. If everything is good and all requirements pass the test, you can move on and start to define the DI parameters.
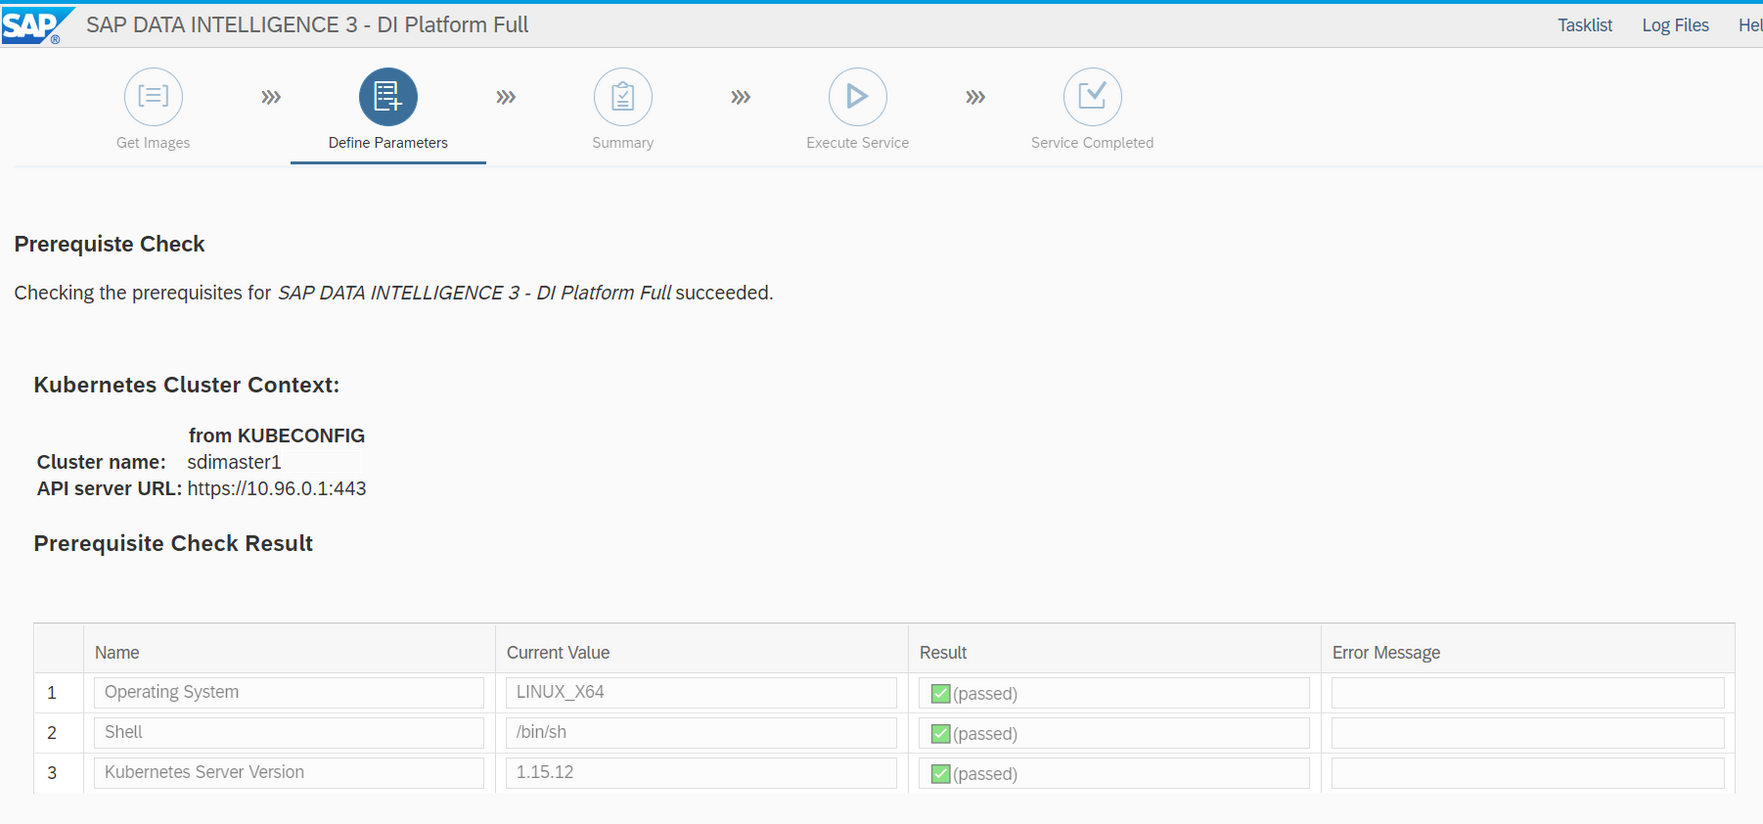
Most of the steps are very intuitive, but we’d still like to zoom in two points that have changed since the previous installation.
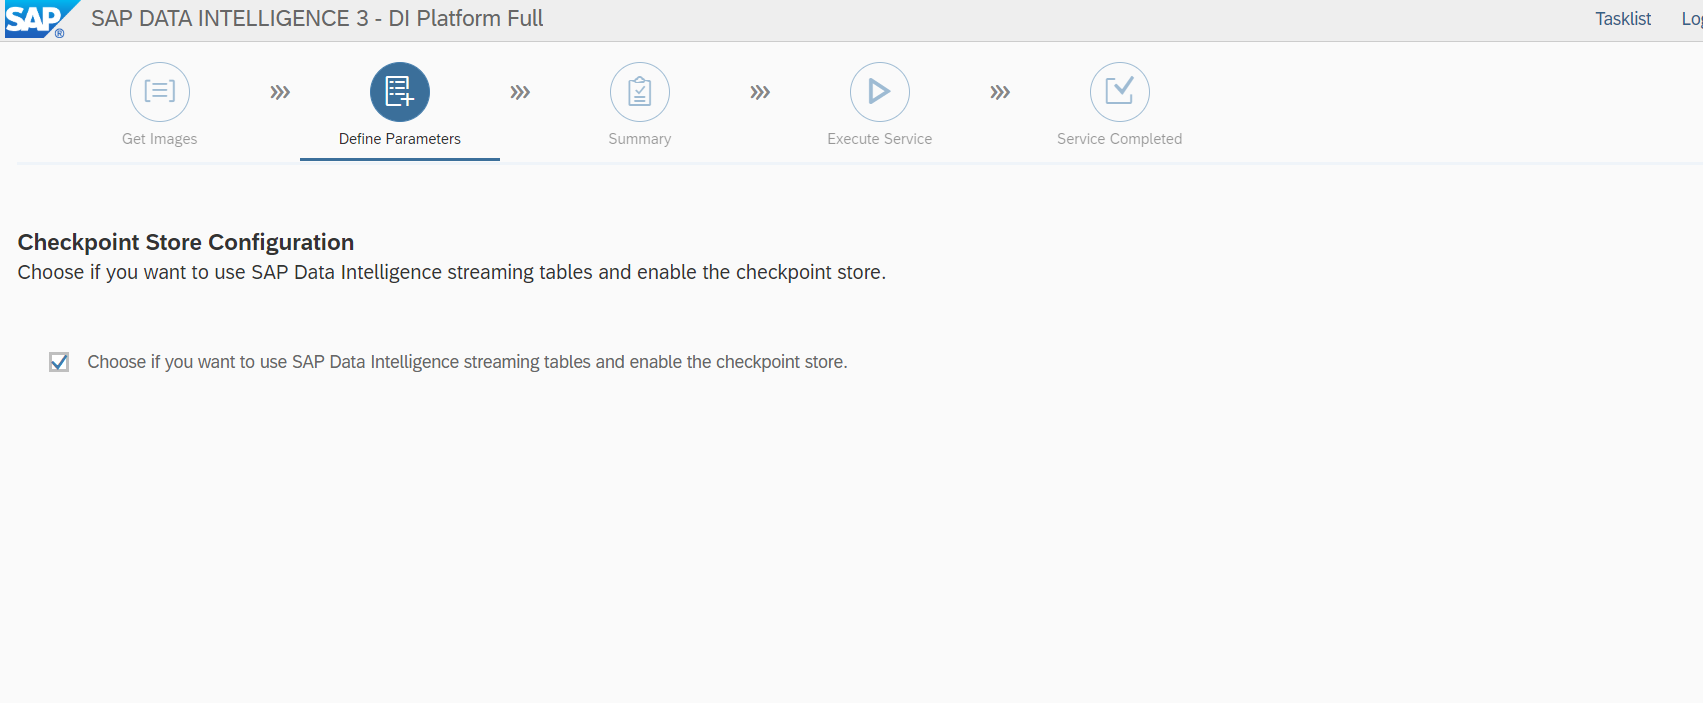
First, we can now configure an external checkpoint store for the Vora database in SAP DI Platform Full and therefore use streaming tables with an external storage. This is not necessarily required for development or Proof-of-Concept installations, but highly recommended for the production use – so reason enough to take a closer look!
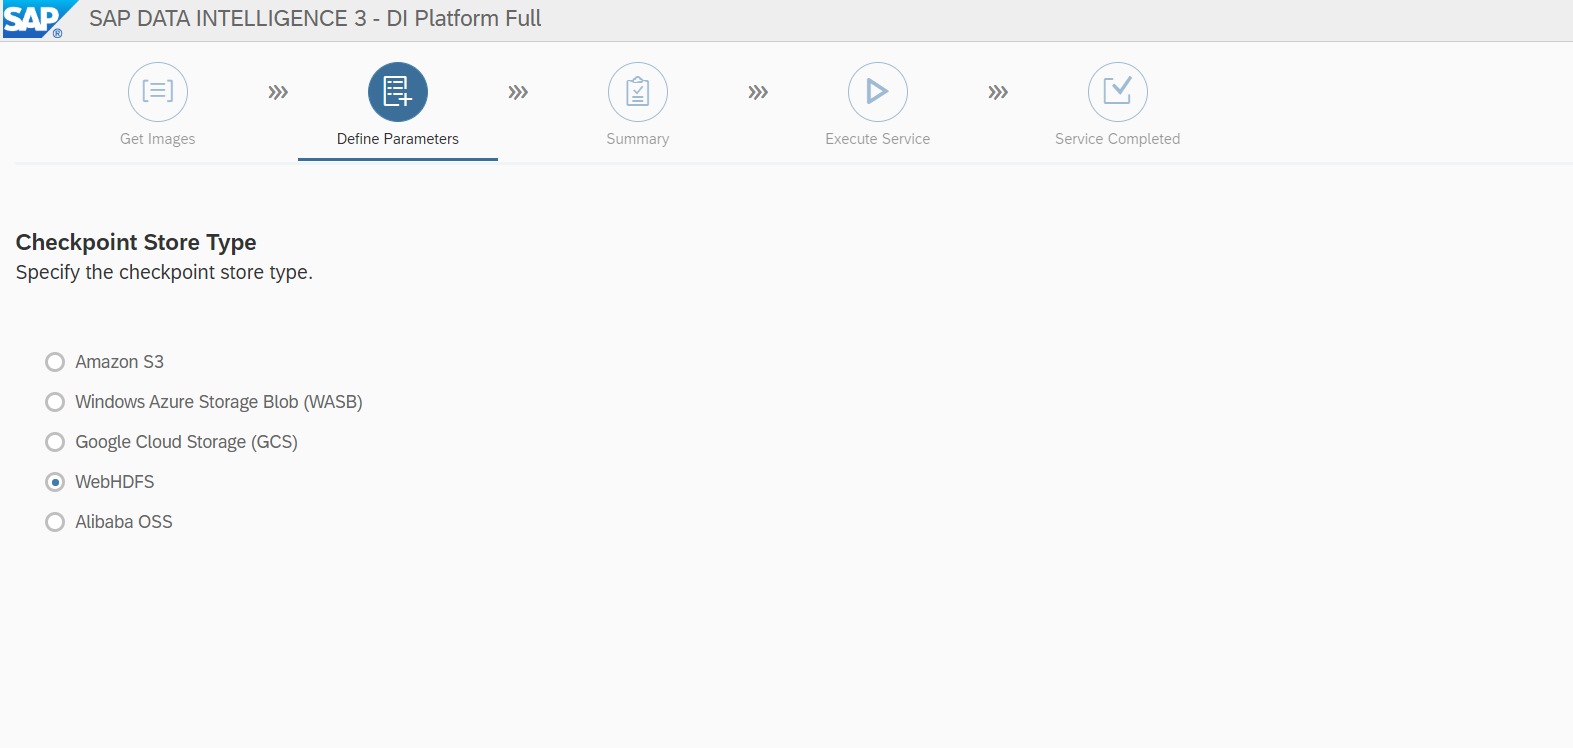
There are some external storage options to choose from at this point, but since we perform an on-premise installation and have a Hadoop cluster running internally, HDFS works fine for us. Everything is still Open Source without any extra costs and our system remains only in the local network.
Define our WebHDFS host with port and path:
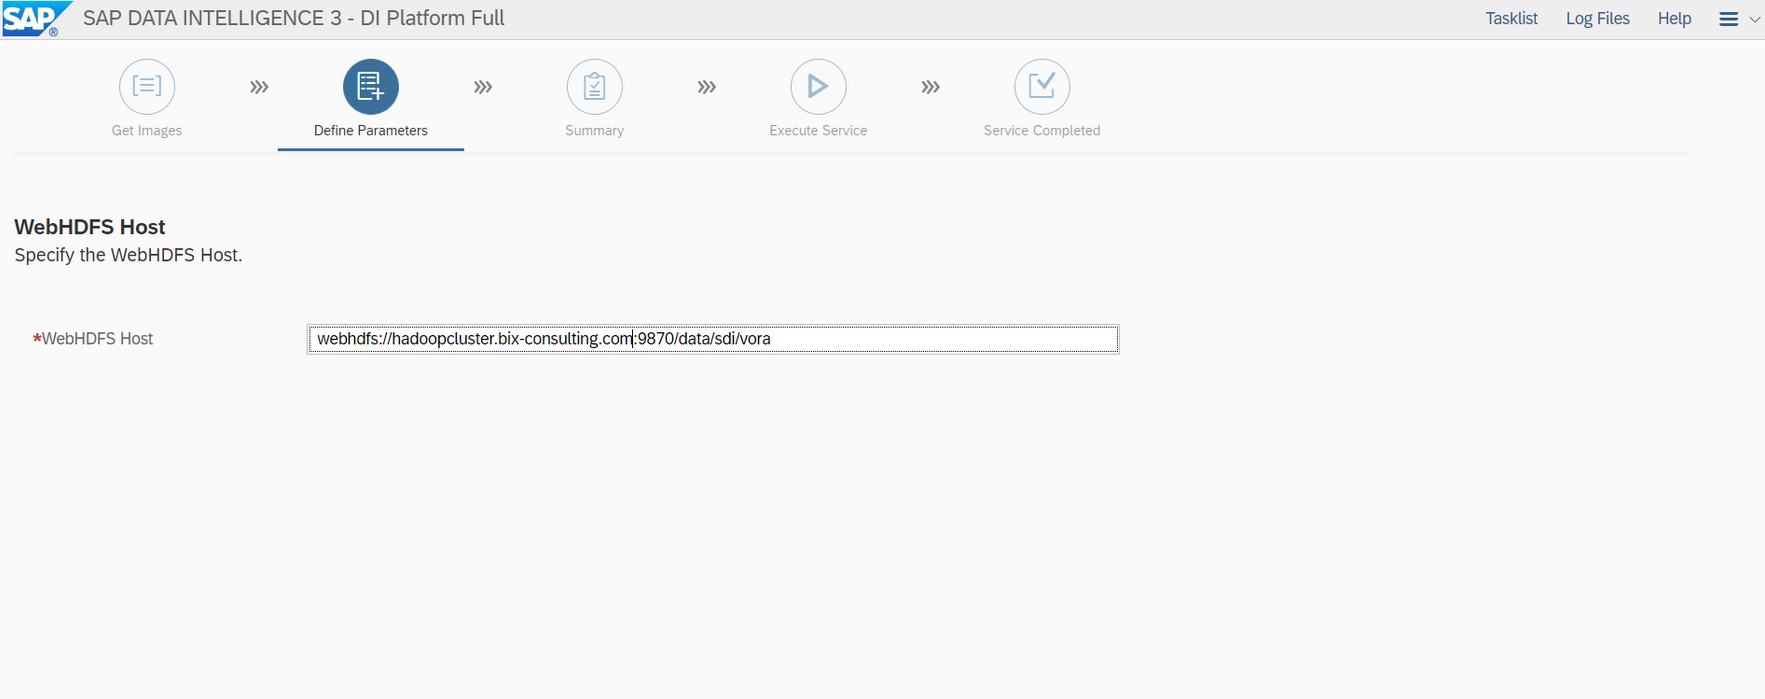
In the last step of this section you can run a validation test for your configuration – if everything is correct you can move on to the next section!
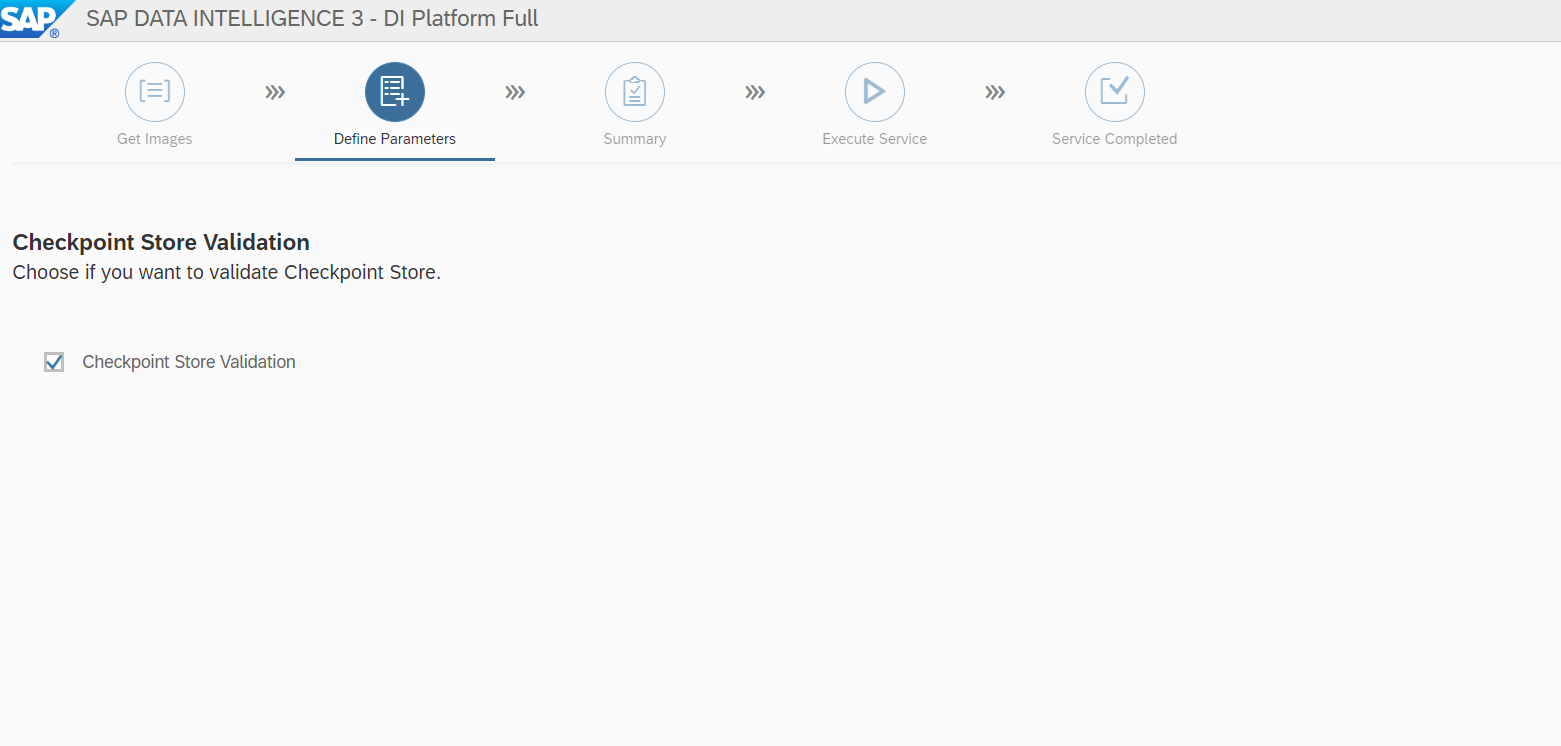
The second part of the installation that might require a little more attention is a checkbox named “Kaniko” which is activated by default from the beginning.
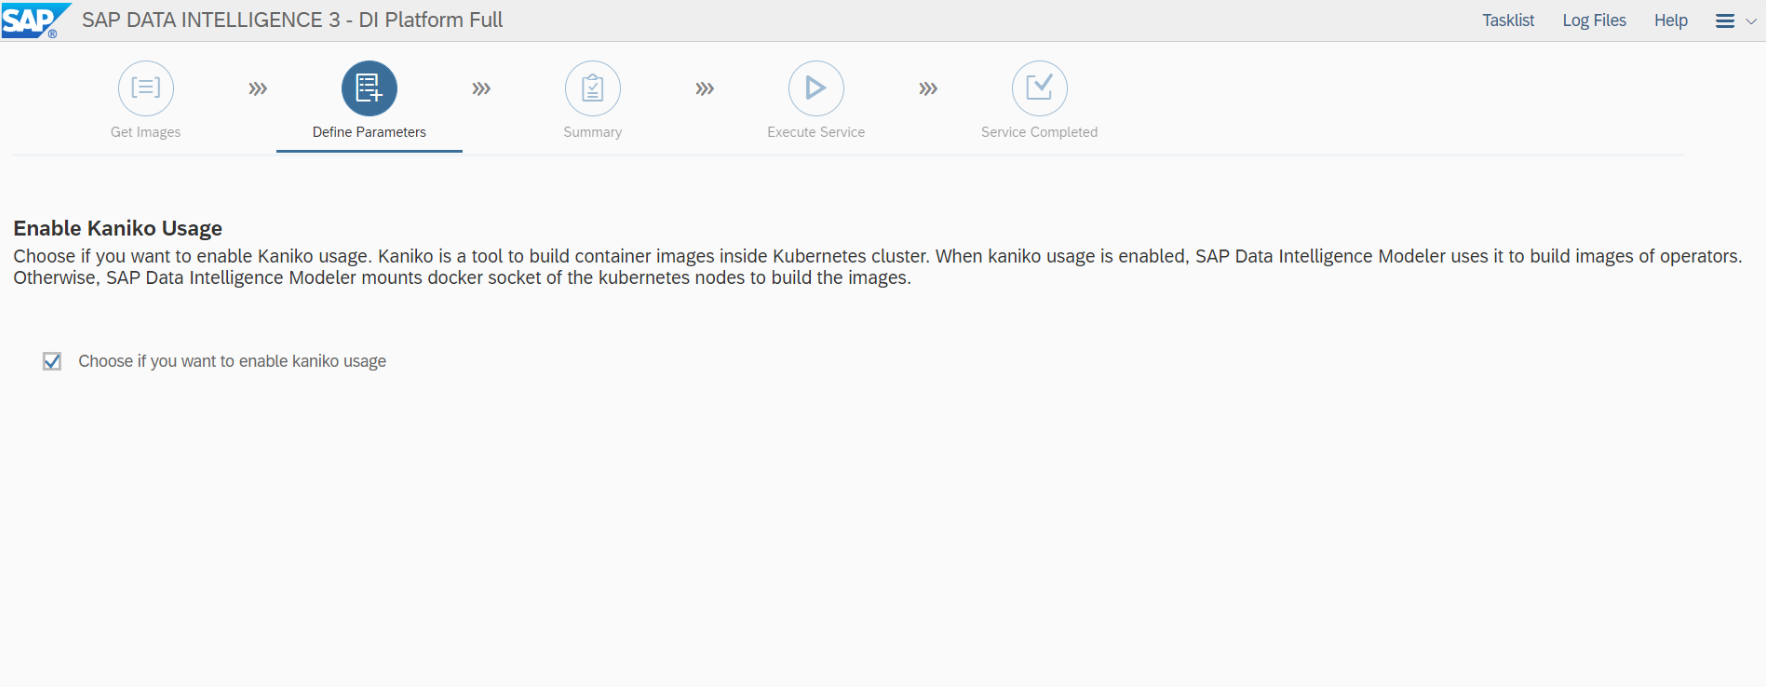
“Enable Kaniko Usage” made us work up quite a sweat during the first installation. The reason for that was that our private docker registry used https and a self-signed certificate up until now. This was no problem so far, but to get Kaniko correctly running a secured registry with a trusted certificate is an important requirement! So, if your installation doesn’t work 100% and maybe hangs on the “vflow” verification at the end, this might also be a problem of your on-premise installation. In our opinion there are only two clean solutions, either you don’t use Kaniko or you use a trusted certificate for your private docker registry. We therefore first performed a successful installation without enabling the Kaniko checkbox, just to see if it would work and afterwards started all over again to perform a little trick: We created a valid wildcard certificate through the free to use Let’s Encrypt service for our external domain and used it internally, by adding the related search domain to our local DNS server and exchange the self-signed certificate in the registry with the new one. It works perfectly and doesn’t require any port forwarding – cool thing! But keep in mind, Let’s Encrypt certificates are only valid for 3 months, so don’t forget to replace it.
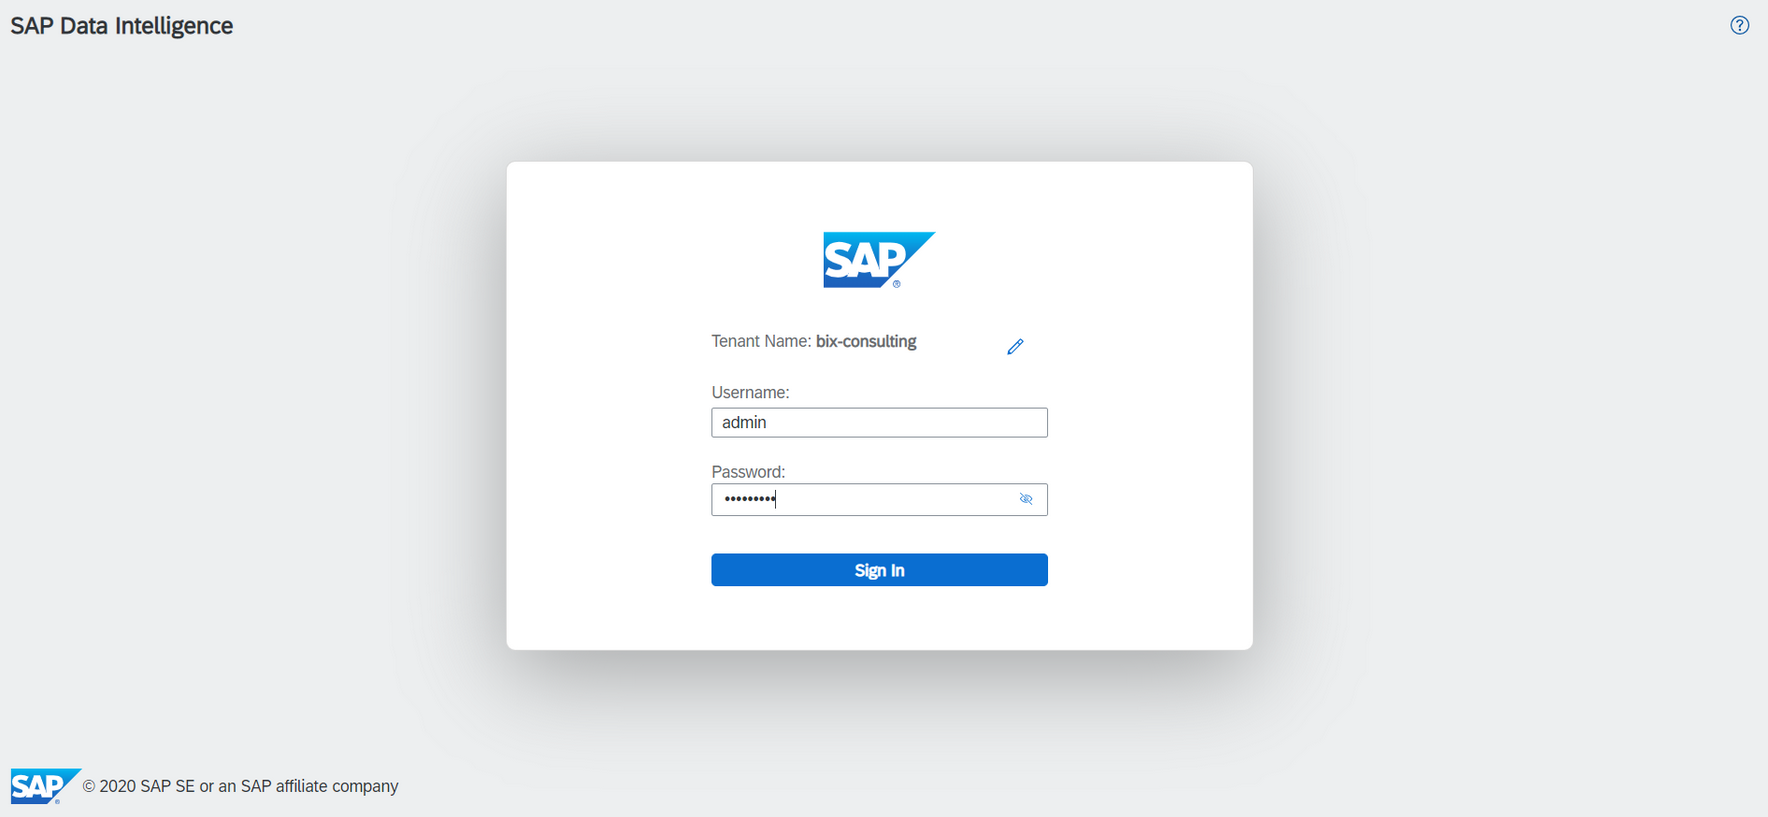
Apart from those points, the installation should run the same way as for the Datahub. After the execution and all checks are completed, the corresponding service / port needs to be exposed again. If everything worked out, you can reach the start page via the browser and login to your SAP Data Intelligence Platform for the first time – that’s it!
If you have further comments or questions, we’ll be happy to help you. Just leave us feedback in the comments!
Best regards and see you soon for more.
Ansprechpartner


